Chocolate is all kinds of awesome. Also, I recently acquired Hello Kitty-shaped molds, so I needed something to do with them. What could be better than home-made chocolates? Now, obviously, "home-made" is a bit of a misnomer. Because, in all honesty, we don't "make" the chocolate ourselves, we just re-purpose it. But that's a fun and sticky activity, and the results are supercute and tasty.
The Materials
You will need:
150g of nice chocolate or couverture
1 tsp of a softener, such as butter, or cocoa butter if you can get it.
two silicone molds for chocolates
Interesting ingredients of your choice, such as chopped nuts, dried berries, spices, crispy things, etc.
Also extract of vanilla, or rum, that kind of thing.
Also extract of vanilla, or rum, that kind of thing.
I use plain chocolate. I contemplated buying couverture chocolate, but decided against it. Mainly, because it tastes like crap, unless you buy the really expensive stuff. So I used plain chocolate bars. Obviously, that's bars without anything in them, because I'm gonna put all the good stuff in, myself.
In order to make the final product slightly softer than the original bar, I add one teaspoon of coconut oil per about 150g of chocolate. Coconut oil is actually solid at room temperature.
Melting the Chocolate
 |
| Chocolate is hard work. |
The crucial part of creating chocolates is obviously melting the chocolate bar without burning it. This cannot be stressed enough: the chocolate should be liquid, but never boiling. Most people choose to use a bain-marie for this procedure. I am fortunate in that I have a gas stove, where temperature can be regulated with great flexibility.
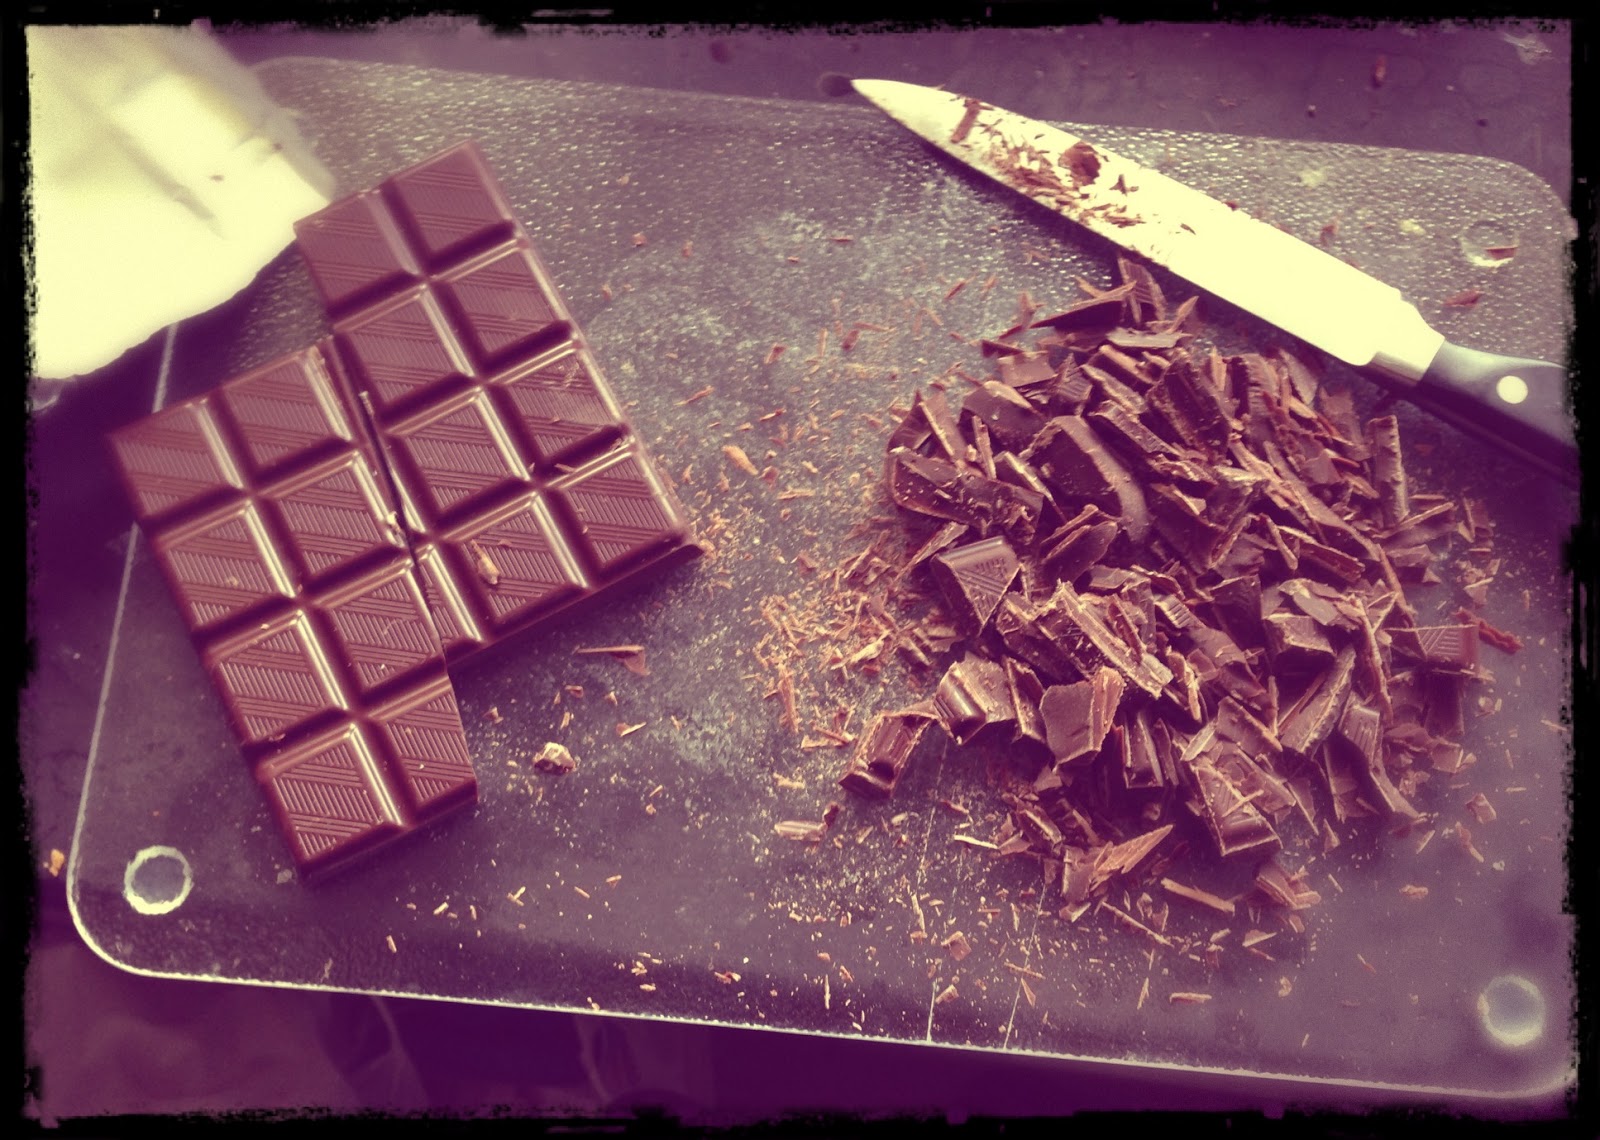
First, I chop the bar into tiny pieces. That way, everything melts faster. Two thirds go into the pot, the rest remains on the side.
When everything in the pot is liquid, remove the pot from the stove and add the remaining chocolate. Stir until melted.
 |
| Mmmmmmmm.... |
Adding Extras
 As a rule, I put chopped nuts and similar ingredients directly into the liquid chocolate. "Centerpieces" like dried fruit, on the other hand, are carefully positioned. For this example, I added finely chopped, roasted, hazelnuts to the chocolate. Then I put on teaspoon of chocolate into each little heart. On top of that, I sat a dried cherry, before filling each cavity with the rest of the chocolate.
Et voilà! Your fridge will do the rest. That's where you leave your chocolates now for about twenty minutes, until they are solid. Remember: silicone is very flexible, and the chocolate is very liquid. Just saying.
 |
| Dark chocolate with roasted hazelnuts and dried cherries. |
 |
| White chocolate with chopped pistachios and rum-soaked raisins. |
 |
| Tiny Hello Kitty chocolates are so awesome, they glitter when you look their way. True story. |

